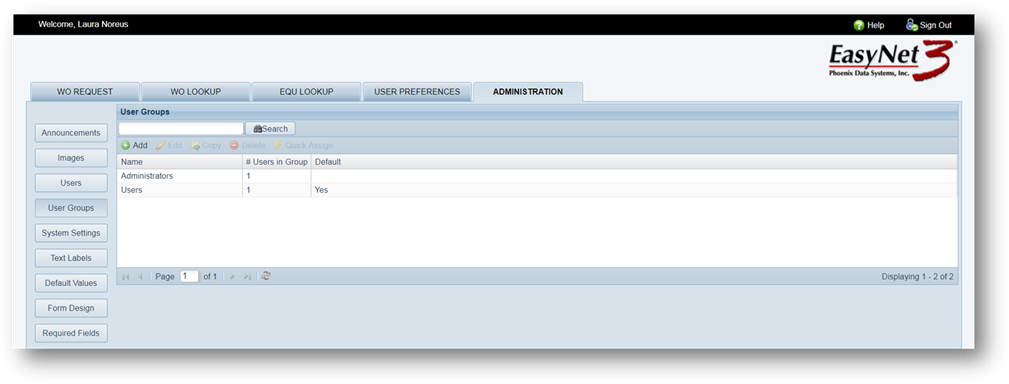
Create Group Names and set up the ability for members of those groups to access selected sections in EasyNet 3 as well as Databases, Facilities, Cost Centers, Service Departments and Buildings.
1. Click on the User Groups button.
NOTE: User Groups MUST be set up prior to adding users.
2. Add [Button] – Click on the button to create a User Group.
User Group Profile
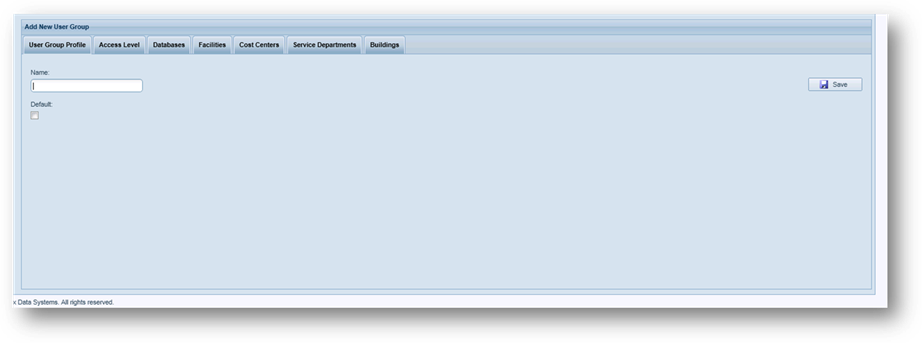
3. Name – Enter a name for the Group.
4. Default [Checkbox] – Check to assign all new users to this Group.
5. Save [Button] - Click on Save to continue, then click on the next Tab.
Access Level
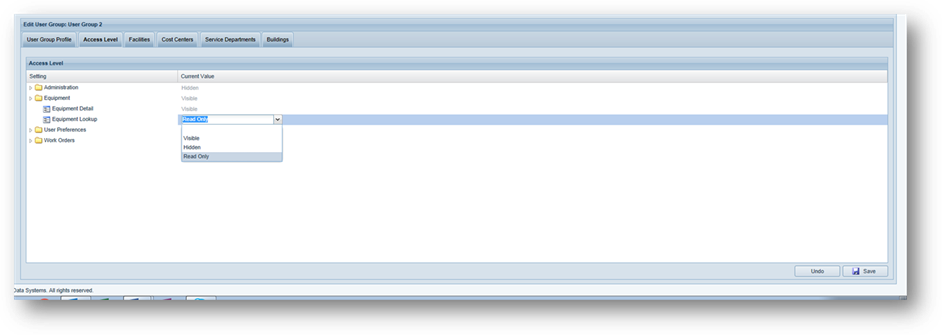
1. Table – Expand each section in the table and select whether each item will be “visible”, “hidden” or “read only” for members of the Group.
2. Save [Button] - Click on Save to continue, then click on the next Tab.
Databases
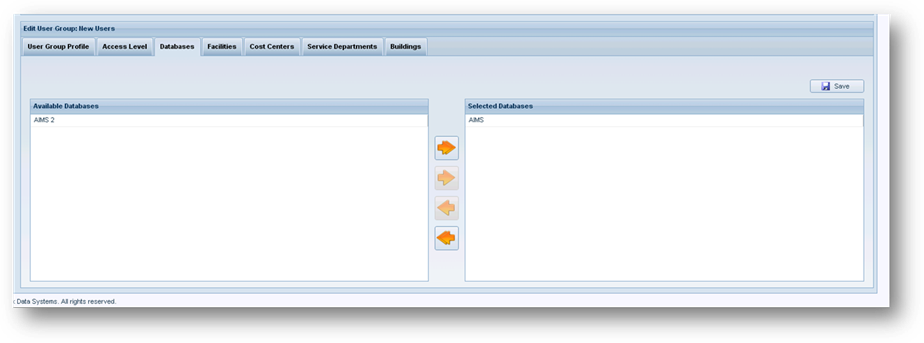
•This Tab does not display for single database instances.
1. Available Databases [Table] – Highlight a database in the table and click on the arrow to add it to “Selected Databases”. This allows the User Group access to those databases displayed in the table.
•To remove databases from User Group access, highlight the database in the Selected Databases table, and click the left-pointing arrow.
2. To allow or remove access to all databases, use the double arrows.
3. Save [Button] - Click on Save to continue, then click on the next Tab.
Facilities
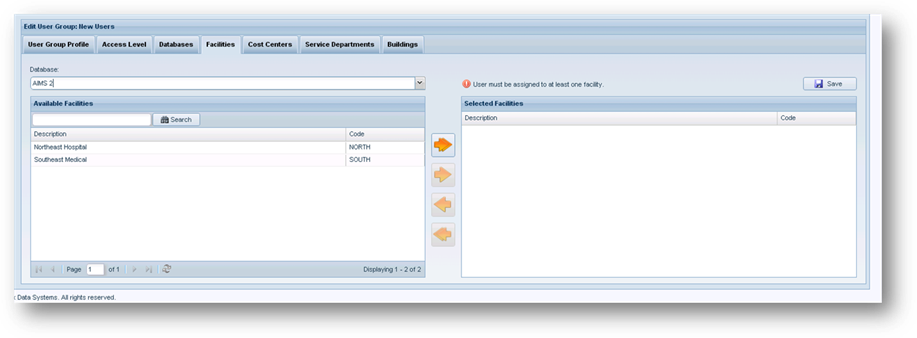
1. Database – Select a database from the dropdown list.
•This option does not display for single database instances.
2.
 Available
Facilities [Table] – Highlight a facility in the table and click on the
arrow to add it to “Selected Facilities”. This allows the User Group
access to those facilities displayed in the table.
Available
Facilities [Table] – Highlight a facility in the table and click on the
arrow to add it to “Selected Facilities”. This allows the User Group
access to those facilities displayed in the table.
•To remove facilities from User Group access, highlight the facility in the Selected Facilities table, and click the left-pointing arrow.
3. To allow or remove access to all facilities, use the double arrows.
4.
 Search
[Button] – Begin typing on the search box and the table jumps to
the entry.
Search
[Button] – Begin typing on the search box and the table jumps to
the entry.
•Alternatively, enter a complete facility name and click on the Search Button.
•Use the Page numbers at the bottom of the screen to scroll back and forth to view additional facilities.
5. Save [Button] - Click on Save to continue, then click on the next Tab.
Cost Centers
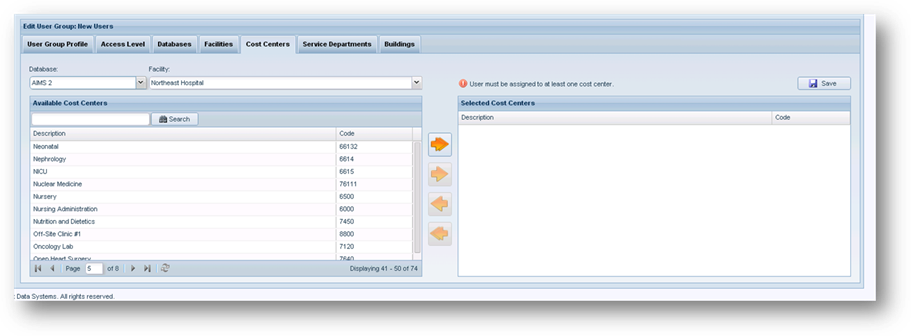
1. Database – Select a database from the dropdown list.
•This option does not display for single database instances.
2. Facility – Select a facility from the dropdown list; the table below refreshes.
3.
 Available
Cost Centers [Table] – Highlight a Cost Center in the table and click on the
arrow to add it to “Selected Cost Centers”. This allows the User Group
access to those Cost Centers displayed in the table.
Available
Cost Centers [Table] – Highlight a Cost Center in the table and click on the
arrow to add it to “Selected Cost Centers”. This allows the User Group
access to those Cost Centers displayed in the table.
•To remove Cost Centers from User Group access, highlight the Cost Center in the Selected Cost Centers table, and click the left-pointing arrow.
•To allow or remove access to all Cost Centers, use the double arrows.
4.
 Search
[Button] – Begin typing in the search box and the table jumps to
the entry.
Search
[Button] – Begin typing in the search box and the table jumps to
the entry.
•Alternatively, enter a complete Cost Center name and click on the Search Button.
•Use the Page numbers at the bottom of the screen to scroll back and forth to view additional Cost Centers.
5. Save [Button] - Click on Save to continue, then click on the next Tab.
Service Departments

1. Database – Select a database from the dropdown list.
•This option does not display for single database instances.
2.
 Available
Service Departments [Table] – Highlight a Service Department in the table and
click on the arrow to add it to “Selected Service Departments”. This
allows the User Group access to those Service Departments displayed in the
table.
Available
Service Departments [Table] – Highlight a Service Department in the table and
click on the arrow to add it to “Selected Service Departments”. This
allows the User Group access to those Service Departments displayed in the
table.
•To remove Service Departments from User Group access, highlight the Service Department in the Selected Service Departments table, and click the left-pointing arrow.
•To allow or remove access to all Service Departments, use the double arrows.
3.
Search
[Button] – Begin typing on the search box and the table jumps to
the entry.
•Alternatively, enter a complete Service Department name and click on the Search Button.
•Use the Page numbers at the bottom of the screen to scroll back and forth to view additional Service Departments.
4. Save [Button] - Click on Save to continue, then click on the next Tab.
Buildings
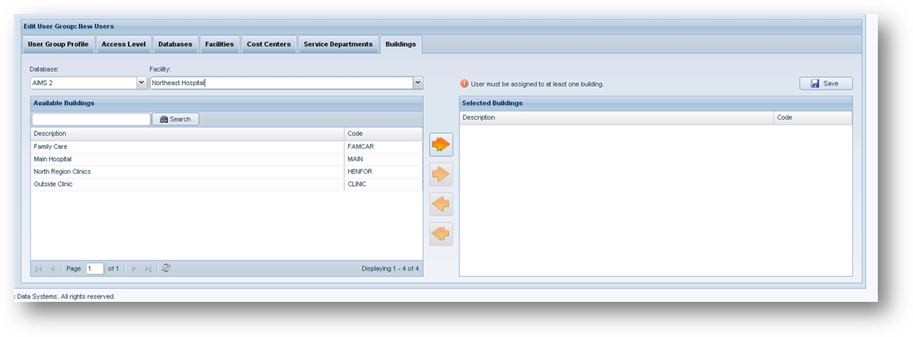
1. Database – Select a database from the dropdown list.
•This option does not display for single database instances.
2. Facility – Select a facility from the dropdown list; the table below refreshes.
3.
Available
Buildings [Table] – Highlight a Building in the table and click on the arrow to
add it to “Selected Buildings”. This allows the User Group access to those
Buildings displayed in the table.
•To remove Buildings from User Group access, highlight the Building in the Selected Buildings table, and click the left-pointing arrow.
•To allow or remove access to all Buildings, use the double arrows.
4.
Search
[Button] – Begin typing on the search box and the table jumps to
the entry.
•Alternatively, enter a complete Building name and click on the Search Button.
•Use the Page numbers at the bottom of the screen to scroll back and forth to view additional Buildings.
5. Save [Button] - Click on Save.
Quick Assign Feature
Provides the ability to grant a User Group access to ALL Databases, Facilities, Cost Centers, Service Departments and Buildings with one click. The User Group will also be given access to all sections in EasyNet 3 other than Administration.
1. Click on the User Group Name to highlight it.
2. Click on the Quick Assign button.
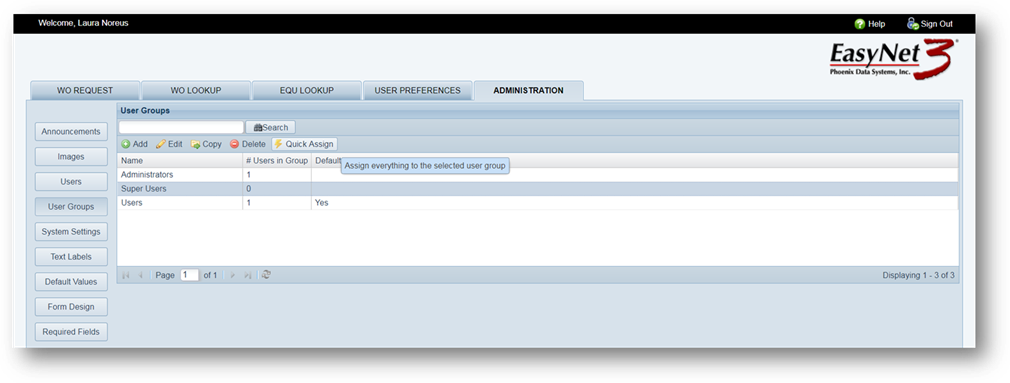
•You will receive the prompt below
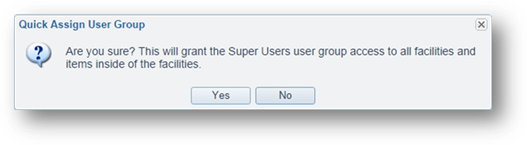
3. Click Yes.