Text [Field] Labels may be edited to display a user-defined label.
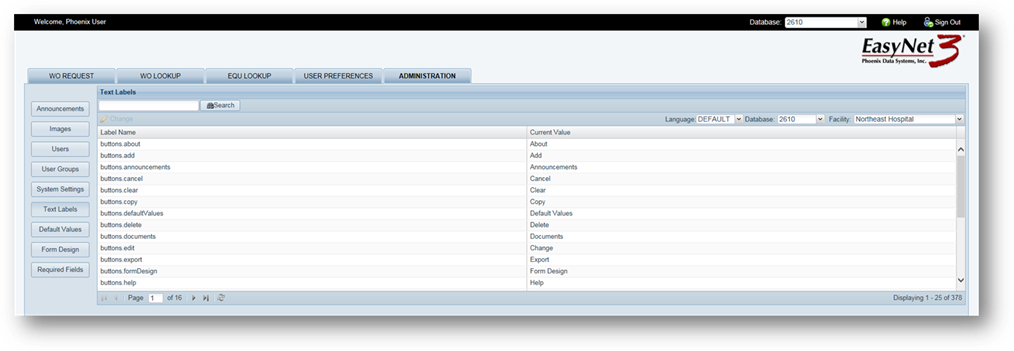
1. Click on the Text Labels button.
•Existing labels display in the table.
•Label Name displays the database field name.
•Current Value displays the field label as it will appear in EasyNet 3.
2. Language – Accept the default or select from the list.
3. Database – Select from the dropdown list.
•This option does not display for single database instances.
4. Facility - Select from the dropdown list.
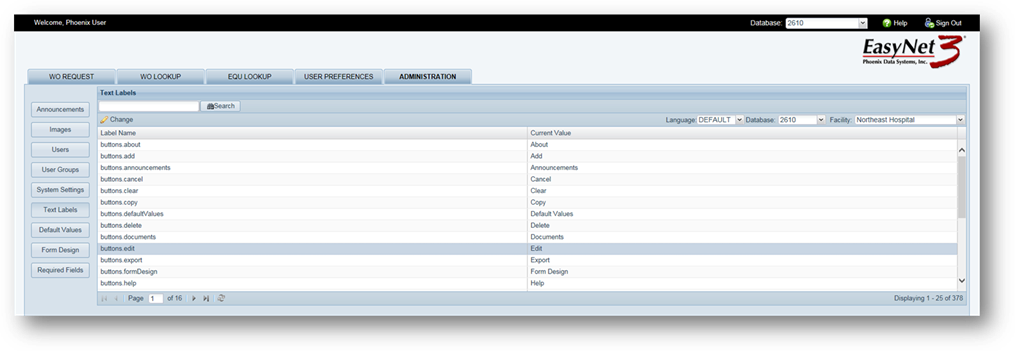
5. Label Name [List] – Highlight an item in the list and click on the Edit Button. The item appears in the header of the lower table – Edit Label: xxx.
NOTE: It is important to pay close attention to the Level at which you are making field label changes. Changes can be applied at the top or for individual, lower levels
The Edit Button label is used as an example.
6. Select an item in the table and click in the Edit Column. Enter your new field label name. When you Tab off the field, a checkmark appears next to the new Field Label.

7. Save [Button] - Click on Save. Your new label appears in the upper table.
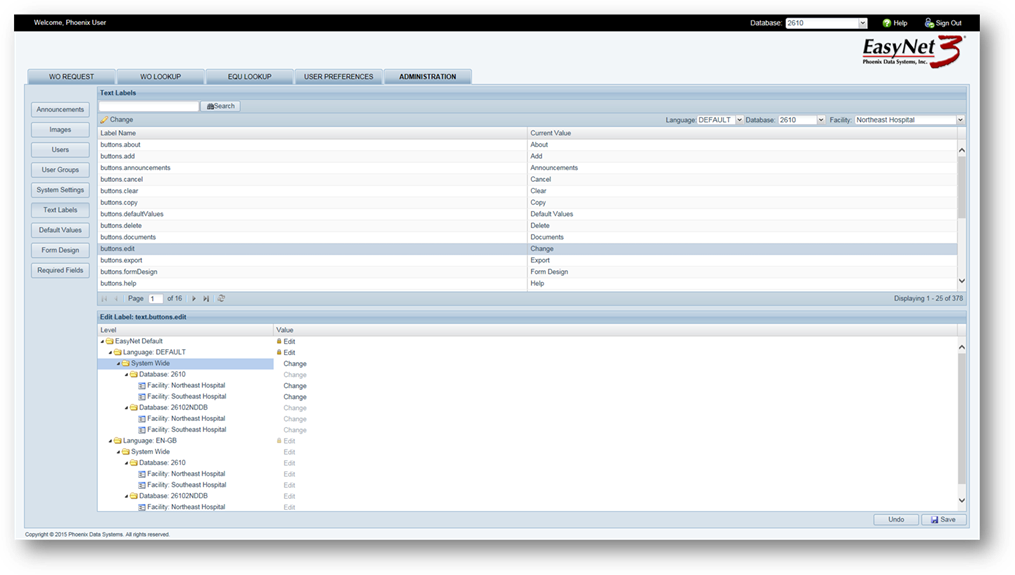
8. Undo [Button] – Use the undo button to change labels back to their prior settings; you cannot use Undo if you have already clicked the Save Button.